Gemology Tools Explained: Refractometer, Polariscope, Microscope and Loupe
No gemologist identifies a stone by looking at it alone. Colour can deceive, and many stones share the same shade. Instead, gemologists build an answer from a series of small tests, each done with a specific instrument. This guide explains the core gemology tools, what each one measures and how they work together to identify a stone with confidence.
Key Takeaways
- The loupe, microscope, refractometer and polariscope form the core of a gem testing kit.
- Each tool answers a different question, so identification depends on combining results.
- Learning to use these instruments well takes guided, hands on practice with real stones.
Why Gemologists Rely on Instruments
Two stones can look almost identical to the eye. A red glass bead and a ruby, or a colourless zircon and a diamond, can fool even experienced buyers under shop lights. Instruments measure properties that the eye cannot judge, such as how a stone bends light or how it behaves under polarised light.
Each property narrows the list of possible stones. One test rarely gives the full answer. The skill lies in choosing the right tests, reading the results correctly and knowing when a stone needs a laboratory’s advanced equipment. This step by step method is at the heart of any serious diploma in gemology.
The 10x Loupe: The First Tool You Reach For
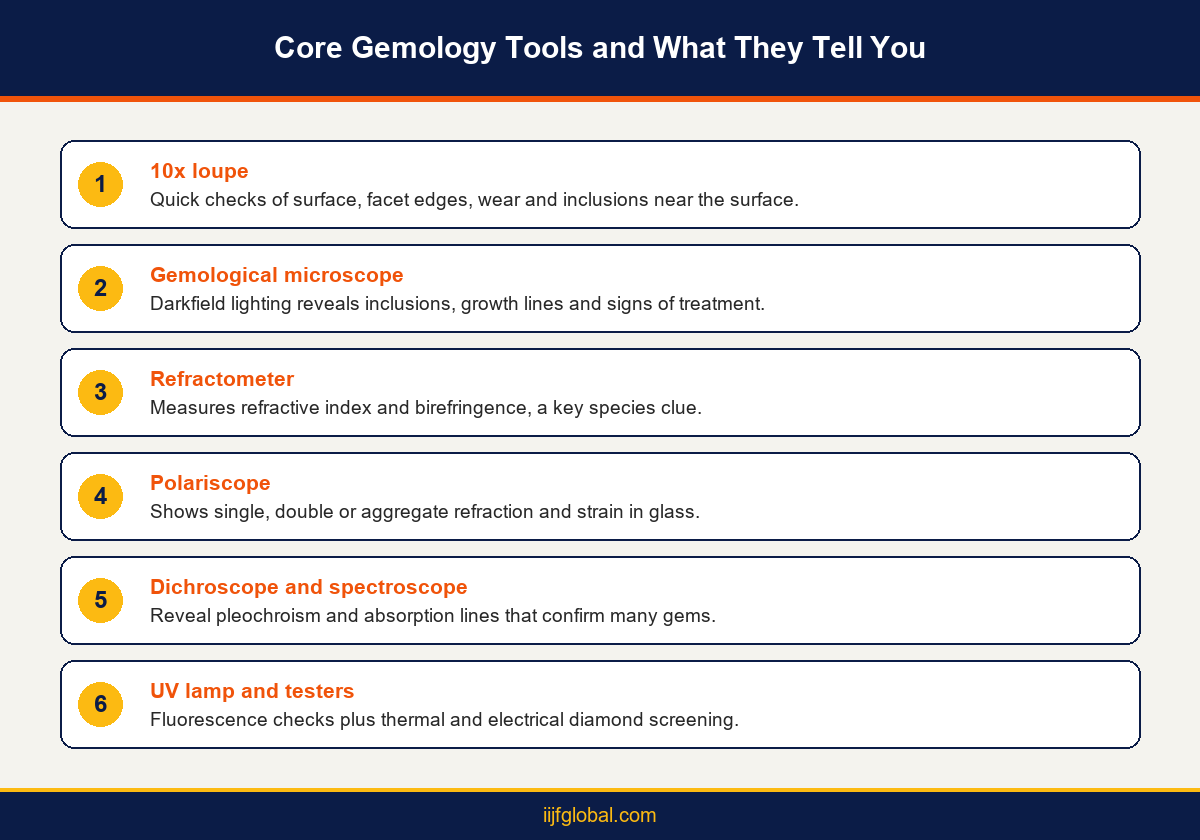
The 10x loupe is a small folding magnifier, usually a triplet lens that corrects colour and distortion. It is the most used tool in the trade because it travels everywhere and gives quick answers.
With a loupe, you check surface condition, facet edges, inclusions near the surface and signs of wear. Sharp facet edges suit hard stones, while rounded or chipped edges can suggest softer materials such as glass. Gas bubbles and swirl marks can point to glass or synthetic material. A loupe is also how diamond graders make their first clarity judgements, which our guide to the 4Cs of diamond grading explains further.
The Gemological Microscope
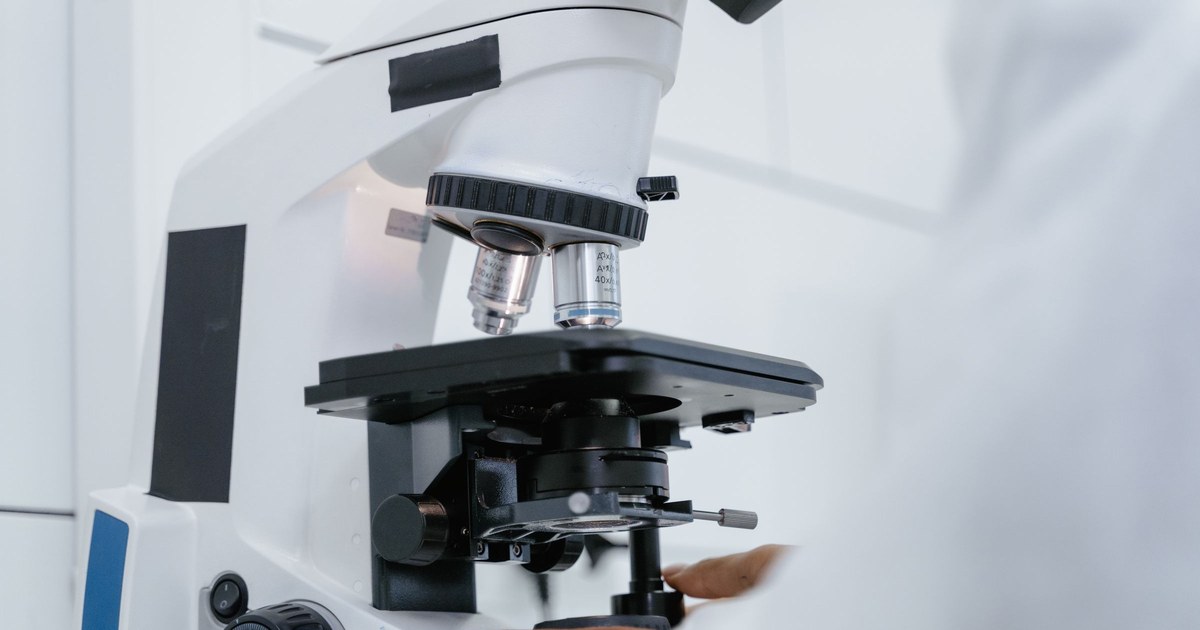
A gemological microscope takes the loupe’s job much further. It offers higher magnification, a stable stand and special lighting, especially darkfield illumination, which lights inclusions brightly against a dark background.
Inclusions are often the strongest clue to a stone’s identity and history. Natural stones carry crystals, needles and fingerprint patterns formed in the earth. Synthetics can show curved growth lines or flux remains. Treated stones may reveal glass in fractures or altered inclusions from heating. Reading these internal features is a skill that improves with every stone you study.
The Refractometer: Measuring How Light Bends
The refractometer measures a stone’s refractive index, which describes how much light slows and bends as it enters the stone. Each gem species has a known range, so this number is one of the most useful identification clues.
The gemologist places the stone’s polished facet on a glass hemisphere with a drop of contact liquid, then reads a shadow line on a scale. Doubly refractive stones show two readings, and the difference between them, called birefringence, adds another clue. Most standard refractometers read up to about 1.81. Stones with a higher index, such as diamond, read above the limit, which is itself a useful result.
The Polariscope: Single or Double Refraction
The polariscope uses two polarising filters to show whether a stone is singly refractive, doubly refractive or made of many tiny crystals. As the gemologist turns the stone between the crossed filters, it may stay dark, blink light and dark, or stay light.
These patterns separate many look alike pairs. For example, garnet is singly refractive while ruby is doubly refractive. The polariscope can also reveal strain in glass and some synthetics, which shows as unusual patterns. It is quick, low cost and especially useful for sorting parcels of coloured stones.
Other Tools in a Gemology Kit
Several other instruments complete a standard kit. A dichroscope shows pleochroism, where a stone shows different colours in different directions. A handheld spectroscope reveals absorption lines that help confirm stones such as ruby and some treated gems. An ultraviolet lamp shows fluorescence under long wave and short wave light. A Chelsea colour filter helps screen some emeralds and their imitations.
For diamonds, thermal and electrical conductivity testers screen simulants quickly, and a hydrostatic balance measures specific gravity. Advanced laboratory instruments, such as spectrometers used for detecting lab grown diamonds, sit beyond the basic kit but follow the same idea of measuring what the eye cannot see.
Learning to Use Gemology Tools Properly
Owning instruments is easy. Using them well is not. Readings depend on clean surfaces, correct lighting and careful technique. A wrong drop of contact liquid or a poorly placed stone can produce a misleading result. This is why practical lab sessions matter so much in gemology training.
A good course gives you time with each instrument and a wide set of real stones, natural, synthetic and treated, to practise on. It also teaches you to record results clearly, which matters when your identification supports a sale or a valuation. Trade bodies such as the Gem and Jewellery Export Promotion Council highlight skilled testing as central to trust in India’s jewellery sector.
Conclusion
Gemology tools turn guesswork into evidence. The loupe and microscope reveal inclusions, the refractometer measures how light bends and the polariscope shows how a stone handles polarised light. Used together, they identify most stones a jeweller meets. To learn these instruments hands on with real stones and experienced trainers, explore IIJF Global’s gemology courses or talk to our team.
Frequently Asked Questions
Q1: What are the basic gemology tools every student should know?
The 10x loupe, gemological microscope, refractometer and polariscope are the core tools. A dichroscope, spectroscope, UV lamp and specific gravity balance usually complete a standard student kit.
Q2: Why is a 10x loupe the standard magnification?
10x magnification is the trade standard for grading and quick checks. It shows enough detail to judge clarity and surface condition while staying portable and easy to use anywhere.
Q3: What does a refractometer measure?
It measures a stone’s refractive index, which describes how light bends as it enters the stone. Each gem species has a known range, so the reading is a strong identification clue.
Q4: Can a refractometer identify a diamond?
A diamond’s refractive index is above the limit of most standard gem refractometers, so it reads over the limit. That result helps, but diamond testers and other checks are still needed.
Q5: What does a polariscope show?
A polariscope shows whether a stone is singly refractive, doubly refractive or polycrystalline. These patterns help separate look alike stones such as garnet and ruby.
Q6: Why do gemologists use a microscope as well as a loupe?
A microscope gives higher magnification, steady positioning and special lighting such as darkfield, which makes inclusions, growth lines and signs of treatment much easier to study.
Q7: Can gemology tools detect treatments?
Many treatments leave clues visible under the microscope, such as glass in fractures or altered inclusions. Some treatments need advanced laboratory testing to confirm.
Q8: Are gemology tools expensive for beginners?
A good loupe is affordable, and basic kits are within reach for most students. Microscopes and advanced instruments cost more, which is why training labs that supply them help learners.
Q9: Can I learn to use gemology tools online?
Theory can be learned online, but reliable instrument skills need hands on practice. Hybrid courses that combine online theory with practical lab sessions work best for most learners.
Q10: Where can I train on gemology instruments in South India?
IIJF Global’s Diploma in Gemology includes practical sessions with loupes, microscopes, refractometers and polariscopes using real natural, synthetic and treated stones.

You may also like